Getting a great car photo is more than just pointing your camera and pressing the shutter. The settings you choose, aperture, ISO, shutter speed, white balance, and focus mode, directly determine whether your image looks like it came out of an editorial studio or a rushed lot walkthrough.
This guide breaks down the exact camera settings you need for every shooting condition: static outdoor shots, golden hour sessions, night photography, and controlled studio setups. Whether you’re a professional automotive photographer building a portfolio or a dealership trying to present inventory at its best, getting your settings right is the first step.
What are Car Photography Settings?
Car photography settings refer to the adjustable parameters on your camera that control how an image is exposed and captured. The core three, aperture, shutter speed, and ISO, form the exposure triangle. Together, they determine how much light hits your sensor, how motion is rendered, and how much noise appears in your final image.
Beyond the exposure triangle, settings like white balance, autofocus mode, image format (RAW vs. JPEG), and lens focal length all play critical roles in automotive photography. Because cars have highly reflective surfaces, glossy paint, glass panels, chrome trim, even small setting errors can produce overexposed highlights, distracting reflections, or flat, lifeless images.
Why Adjusting Camera Settings for Car Photography Matters?
Cars are not passive subjects. Depending on the shoot, a vehicle might be stationary in a parking lot, rolling on a track, lit by streetlights at midnight, or positioned under the last rays of a sunset. Each scenario demands a different approach.
Incorrect settings in car photography typically produce three problems:
Motion blur on moving vehicles when shutter speed is too slow. Noise and grain when ISO is pushed too high without compensating. Blown-out reflections when aperture and exposure aren’t controlled carefully.
For dealerships, these problems translate directly to lower buyer confidence. Inventory photos with blown-out windshields or soft focus don’t convert, buyers scroll past. For photographers, poor technical execution undermines even the most creative compositions.
Best Camera Settings for Car Photography
Master the ideal camera settings for car photography across different lighting conditions, from bright daytime shots to dramatic night and golden hour captures.
Static Car Photography (Outdoor, Daytime)
Static shots are the most common in dealership inventory photography and portfolio work alike. The car isn’t moving, so your shutter speed doesn’t need to freeze motion, your priority is sharpness, depth of field control, and clean exposure.
1. Aperture
f/8 to f/11 for full-car shots where you want both the vehicle and background in focus. For detail shots, a badge, a headlight, the texture of a tire, drop to f/2.8–f/5.6 to achieve a shallow depth of field and isolate the subject.
2. Shutter Speed
1/125s or faster eliminates any risk of camera shake and keeps the image crisp.
3. ISO
Keep it at 100. In bright daylight, there’s no reason to introduce noise. ISO 100 produces the cleanest, sharpest files, critical for high-resolution listing platforms and print.
4. White Balance
Shoot in RAW and set white balance to Auto. You’ll have full control in post-processing to dial in the color temperature precisely.
5. Focus Mode
Single-point AF placed on the nearest headlight or body panel gives you the most accurate result for static subjects.
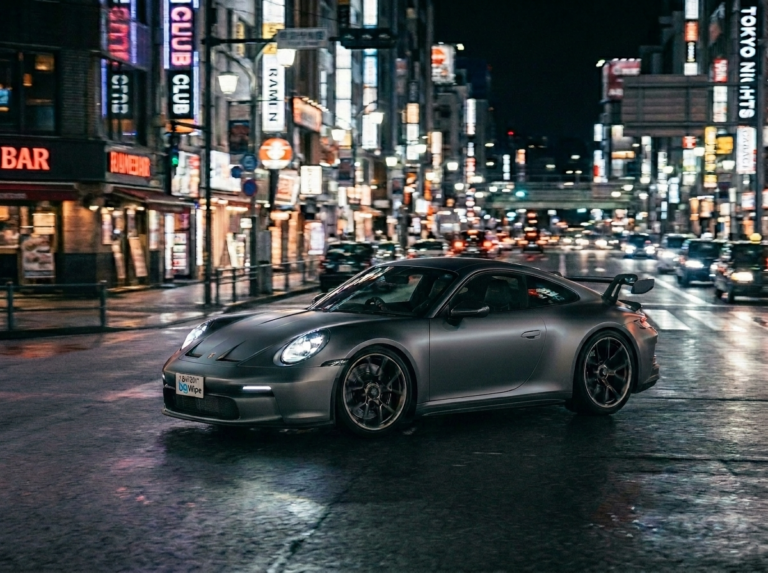
Night Car Photography Settings
Night car photography is its own discipline. Low ambient light means you’re either using a long exposure to collect available light or supplementing with external sources. Both approaches require deliberate setting choices.
1. Aperture
f/1.4 to f/2.8. You need as much light entering the lens as possible. Wider apertures also produce beautiful bokeh from background street lights and neon signs, a quality look for creative automotive shoots.
2. Shutter Speed
5 to 10 seconds for static cars with no additional car photography lighting. This long exposure collects ambient light and produces smooth, cinematic results. Always use a tripod, hand-holding at anything below 1/60s will introduce blur.
3. ISO
800 to 1600. Push higher only if the scene is extremely dark. Anything above ISO 3200 on most cameras starts introducing visible grain that’s difficult to remove cleanly in post.
4. White Balance
Tungsten or Cloudy, depending on the dominant light source. Artificial street lighting shifts your colors warm; adjusting white balance keeps the car’s paint accurate.
Pro Tip: For light painting, a popular creative technique where a portable LED or flashlight is moved around the car during a long exposure, keep your shutter open for 15 to 30 seconds at ISO 100 and f/8. The result is a car that appears evenly and dramatically lit without any visible source. Shoot your cars the best, by learning the top car photography tips. Learn more about car photography tips.
Sunset (Golden Hour) Car Photography Settings
Golden hour, roughly 30 to 60 minutes after sunrise or before sunset, is considered the best natural light condition for car photography. The warm, low-angle light flatters paint colors, creates long dramatic shadows, and adds depth to any body panel.
1. Aperture
f/5.6 to f/8 balances sharpness across the vehicle’s length while still allowing the warm background tones to glow softly behind the car.
2. Shutter Speed
1/200s to 1/500s. Golden hour light is bright enough for fast shutter speeds while still being soft. Faster speeds also protect against slight wind-induced camera movement.
3. ISO
100 to 400. As light fades toward the end of golden hour, gradually raise ISO to compensate rather than slowing your shutter and risking blur.
4. White Balance
Set to Cloudy or Shade to emphasize the warm orange tones that make golden hour images so distinctive. If shooting RAW, you can push this further in post.
Quick Overview for Camera Settings by Shooting Scenario
This guide breaks down aperture, shutter speed, ISO, and pro techniques to help you consistently shoot sharp, high-quality automotive images.
| Scenario | Aperture | Shutter Speed | ISO | Notes |
| Static outdoor (daytime) | f/8–f/11 | 1/125s+ | 100 | Tripod optional |
| Detail shots (badge, wheels) | f/2.8–f/5.6 | 1/200s+ | 100–200 | Shallow DoF for isolation |
| Panning (moving car) | f/5.6–f/11 | 1/20s–1/60s | 100–400 | Track car with camera |
| Night (static, no lights) | f/1.4–f/2.8 | 5s–10s | 800–1600 | Tripod required |
| Night (light painting) | f/8 | 15s–30s | 100 | Manual focus |
| Golden hour | f/5.6–f/8 | 1/200s–1/500s | 100–400 | WB: Cloudy or Shade |
| Indoor / studio | f/4–f/11 | 1/100s–1/200s | 100–400 | WB to match light source |
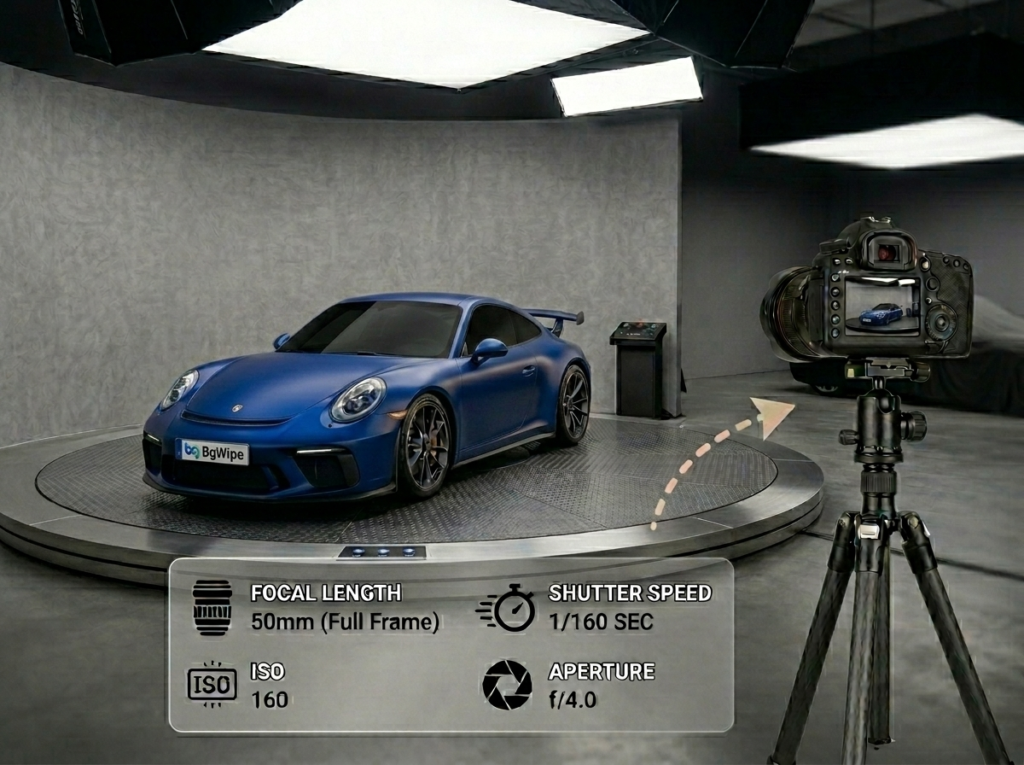
Studio Car Photography Settings
Studio car dealership photography, or automotive studio lighting setups, adds full control over every variable. No wind, no inconsistent natural light, no changing shadows. For dealerships and commercial photographers, a car studio lighting setup produces the most consistent, professional results at scale.
1. Aperture
f/8 to f/11 ensures the entire length of the vehicle is sharp from nose to tail.
2. Shutter Speed
1/100s to 1/200s is standard with studio strobes. Going faster than your camera’s sync speed will produce dark banding in the image.
3. ISO
100 Studio lighting provides all the exposure you need. There’s no justification for raising ISO in a controlled environment.
4. White Balance
Set a custom white balance using a gray card matched to your strobe’s color temperature, typically 5500K to 6000K (daylight-balanced). This eliminates any color cast from ambient light and gives your images a clean, neutral tone.
Automotive studio lighting typically uses large softboxes positioned at 45-degree angles to each side of the vehicle to eliminate harsh reflections off the paint. A large overhead strip light or reflector controls the roof highlight. For car detailing studio lighting, a single large diffused source with careful flag placement removes specular reflections without flattening the car’s form.
Post-Processing Settings for Car Photography
Camera settings get you 80% of the way there. Post-processing closes the gap.
1. Lightroom / Camera RAW
- Bring highlights down to recover blown-out paint and glass
- Open shadows slightly to reveal detail in dark wheel arches
- Set whites and blacks manually rather than using Auto, cars need precise tonal control
- Use HSL adjustments to enhance the car’s specific paint color without shifting the entire image
- Apply lens correction to remove any distortion from wide car photography angles lens
2. Color Grading
Keep it subtle. A slight warm push on shadows and cool pull on highlights gives a cinematic look without making the car color inaccurate, important for dealership listings where buyers are evaluating actual color.
3. Noise Reduction
For any shots taken above ISO 800, apply luminance noise reduction in Lightroom before exporting. High-resolution displays on phones and tablets reveal grain that wasn’t visible on your camera screen.
How BgWipe Elevates Your Car Photos After the Shoot?
Even with perfect camera settings, lot photography presents real-world limitations: an unflattering background, a distracting reflection on a windshield, a license plate that needs masking before the listing goes live.
BgWipe PhotoRoom is an AI-powered car image enhancement tool built specifically for dealerships and automotive photographers. It picks up exactly where your in-camera work ends.
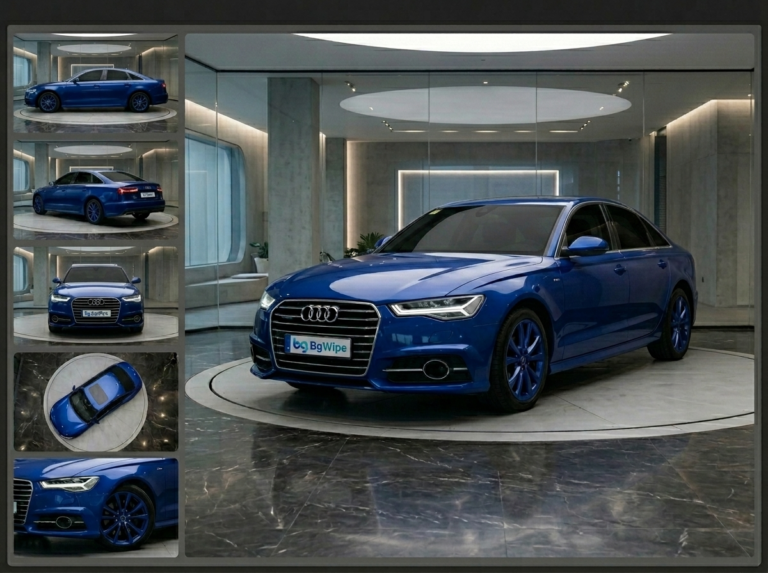
1. AI Background Replacement
You can remove cluttered lot environments and replace them with clean, studio-quality backdrops, turning any photo taken anywhere into a professional-looking listing image.
2. Reflection Removal
BgWipe identifies and eliminates distracting reflections off paint and glass, revealing the car’s true finish without manual retouching.
3. Number Plate Masking
You can automatically detect and blur license plates across your entire inventory, keeping listings compliant without slowing your team down.
4. Shadow Generation
BgWipe adds natural, realistic ground shadows that anchor the car visually — something long exposures and studio setups take significant setup time to achieve.
5. Window Tinting
BgWipe PhotoRoom applies a clean, consistent tint across inventory photos to elevate perceived vehicle value instantly.
For dealerships shooting 20, 50, or 200 vehicles a month, BgWipe processes images in seconds, not hours. The result is consistent, professional-quality inventory and virtual car showroom photos at a scale no in-house photographer or studio session can match.
Conclusion
Mastering car photography settings is a combination of technical discipline and situational judgment. Start with ISO 100 and f/8 for your static outdoor shots, adjust your shutter speed to your conditions, and always shoot in RAW so your post-processing options stay open. Build familiarity with night and golden hour settings progressively, these scenarios reward photographers who understand why each adjustment matters, not just what number to dial in.
For dealerships, consistent camera settings are the foundation of consistent inventory quality. But getting from raw lot photos to polished, listing-ready images at scale is where BgWipe fills the gap, processing vehicle photos with AI precision so your inventory always looks like it was shot in a studio, even when it wasn’t. Try BgWipe PhotoRoom for free.